Did you know that the wood chips from your last gardening project could become the perfect home for gourmet mushrooms? If you’ve been looking for a simple, sustainable way to grow mushrooms at home, wood chips offer an ideal substrate. You can also use wood chips to grow mushrooms outdoors. In this guide, we will learn how to grow mushrooms using wood chips, whether outdoors in your garden or indoors. We will also find out which mushroom species grow best on wood chips, how to prepare the chips for cultivation, and essential tips for keeping the environment just right. By the end, you’ll be ready to turn ordinary wood chips into a productive mushroom bed and enjoy your own fresh harvest at home!
Benefits of Growing on Wood Chips
- Sustainable use of wood waste
- Low maintenance once established
- Can improve soil quality and add biodiversity to your garden.
Why wood chips are an ideal substrate for mushrooms?
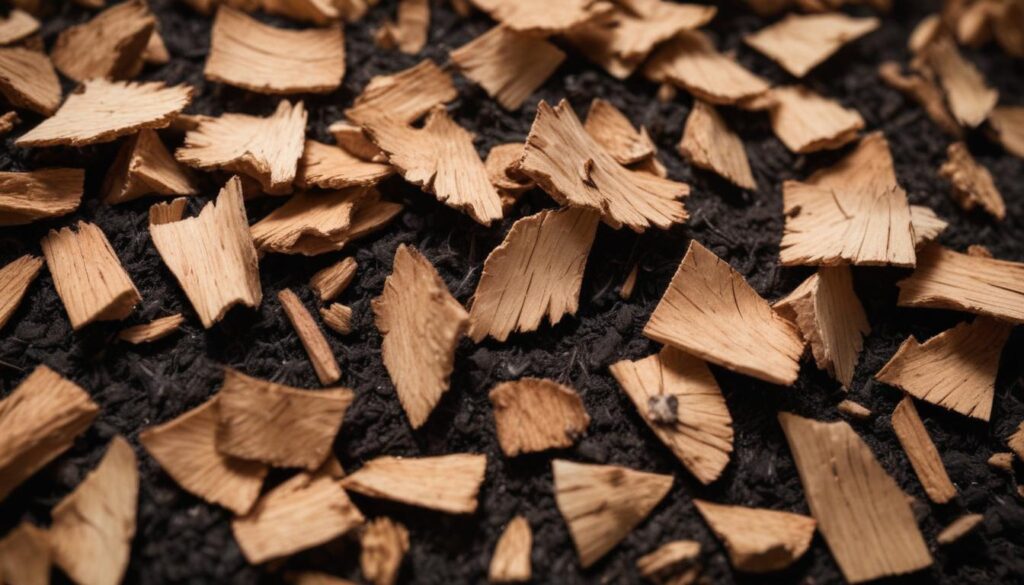
Mushrooms are natural decomposers, breaking down organic matter like wood in forests. By using wood chips, we’re mimicking their natural habitat, providing them with the nutrients they need to grow. Wood chips offer a slow and steady release of nutrients as they decompose, making them an excellent substrate for many mushroom species.
Hardwood chips, like those from oak, maple, or alder, are ideal because they break down at a manageable rate and hold moisture well, which is essential for fungal growth. Softwoods, such as pine or cedar, contain resins that can inhibit mushroom development, so it’s best to avoid them or use aged softwood chips that have broken down sufficiently.
By using the right kind of wood chips, you create an environment where mushrooms can colonize and spread, turning what might be garden waste into a productive growing medium.
Wood chips for cultivating mushrooms
In my previous article, I discussed Grain Spawn in Mushroom Cultivation. You can check that out.
Which mushrooms are best for growing on wood chips?
When growing mushrooms on wood chips, it’s important to choose species that naturally grow on wood. Some mushrooms are more suited for this type of substrate, and starting with the right species will increase the chances of a more successful harvest. Here is the list of the best mushroom varieties that I create for growing on wood chips:
- Oyster Mushrooms (Pleurotus spp.): One of the most beginner-friendly mushrooms to grow, oyster mushrooms are fast to establish and can adapt to a variety of hardwood chips. They’re known for their rapid growth and ability to fruit in a range of conditions.
- Wine Cap Mushrooms (Stropharia rugosoannulata): Sometimes called “garden giants,” Wine Cap mushrooms are perfect for outdoor wood chip beds. They integrate well into garden settings and can coexist with vegetables, adding an extra layer of productivity to your space.
- Shiitake Mushrooms (Lentinula edodes): Shiitakes are typically grown on logs, but they can also be cultivated on hardwood chips with careful management. Although they take longer to fruit, shiitake mushrooms are prized for their rich flavor and meaty texture.
- Lion’s Mane Mushrooms (Hericium erinaceus): Known for their distinctive appearance and health benefits, Lion’s Mane mushrooms can grow on wood chips, though they often do better on sawdust or logs. With proper moisture and shade, they can adapt to a wood chip environment.
Choosing the right species will depend on your setup and goals. Oyster and Wine Cap mushrooms are great for beginners due to their fast growth, while Shiitake and Lion’s Mane are rewarding choices for those who are more patient.
You can take a look at Top 10 Most Profitable Mushroom Varieties to Grow and Is mushroom cultivation profitable? In depth analysis.
Step-by-Step Guide – Growing Mushrooms on Wood Chips
There is no universal rule to do this or that to grow your mushrooms on wood chips. Here I am sharing, what I do and sharing my experience. This really give me the best result I can get. Just follow the steps.
Step 1: Gather Your Materials
Before you begin, make sure you have the necessary materials:
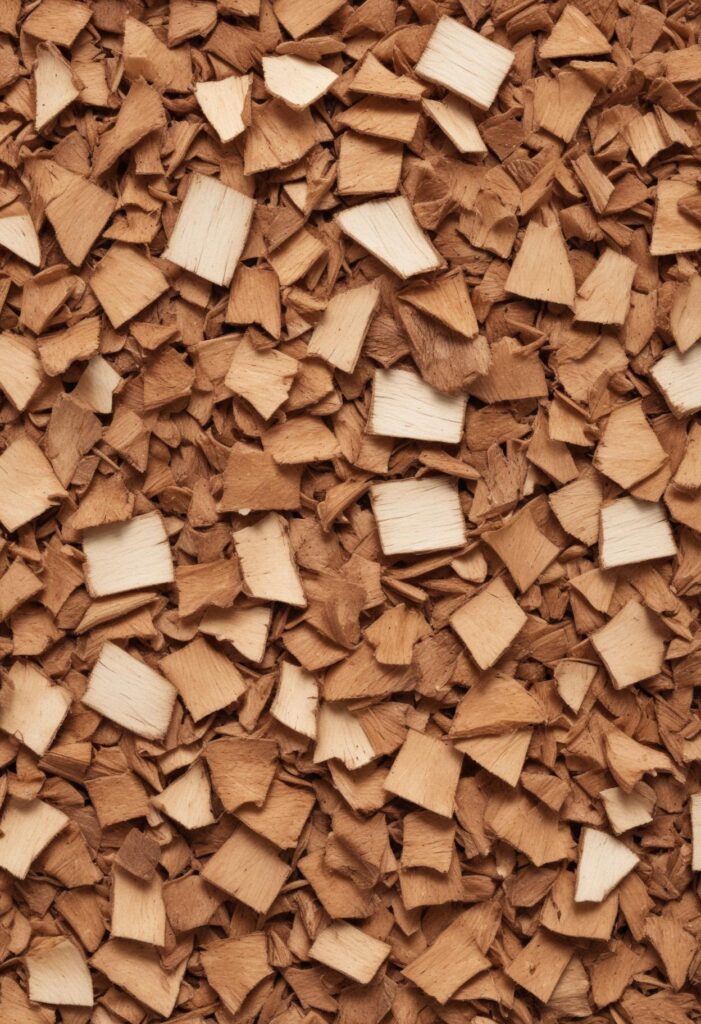
- Wood Chips: Use hardwood chips such as oak, maple, or beech. These can be sourced from local landscaping suppliers, garden centers, or even from your own yard if you have access to hardwood trees. Avoid softwood chips like pine or cedar due to their resin content, which can inhibit mushroom growth.
- Mushroom Spawn: You’ll need spawn (essentially mushroom “seeds”) to inoculate your wood chips. You can purchase this from mushroom cultivation suppliers. Be sure to choose spawn of a mushroom species suited for wood chip growth, like oysters, wine caps, or shiitake.
- Other Tools: A large container or wheelbarrow to mix the spawn and wood chips, and optionally, straw or leaves to cover the bed once it’s prepared.
Step 2: Prepare the Wood Chips
Wood chips need to be in the right condition before you introduce the mushroom spawn:
- Fresh Chips: If using fresh wood chips, they may carry competing organisms that can outgrow your mushrooms. For this reason, it’s a good idea to pasteurize them by soaking the chips in hot water (around 160°F/70°C) for an hour, which helps kill off unwanted microbes.
- Aged Chips: If your wood chips have been aged for a few months, they are already partially broken down and will be more hospitable to fungi. Aging the chips also reduces the likelihood of contamination, so you can skip pasteurization in this case.
Step 3: Inoculate the Wood Chips
Now it’s time to introduce the mushroom spawn to the wood chips:
- Mixing the Spawn: Spread out the wood chips in a container or wheelbarrow and sprinkle your mushroom spawn over the surface. Thoroughly mix the spawn into the chips, ensuring it’s evenly distributed.
- Layering the Spawn: For better colonization, you can layer the wood chips and spawn. Place a thin layer of chips, sprinkle spawn over them, and then add another layer of chips. Continue this layering until all the materials are combined.
Once your wood chips are ready, mix them with the mushroom spawn. Be generous with the spawn to give the fungi a head start against any competition. Spread the chips out in a shaded, moist area of your garden, and cover them with a thin layer of straw or leaves to help retain moisture.
Step 4: Create the Ideal Growing Environment
Mushrooms need the right conditions to grow, so it’s important to provide a suitable environment:
- Shade: Mushrooms prefer indirect light, so place your inoculated wood chips in a shaded area of your garden or under a tree. If growing indoors, choose a location away from direct sunlight.
- Moisture: Keeping the wood chips moist is crucial for mushroom growth. Water them regularly, especially during dry periods. You can also cover the bed with straw, leaves, or a tarp to help retain moisture.
- Temperature: Most wood-loving mushrooms grow best in moderate temperatures, around 55-75°F (13-24°C). Keep this in mind if you’re growing outdoors in a climate with extreme weather.
Step 5: Patience and Harvest
Growing mushrooms takes time, so be patient as the fungi colonize the wood chips:
- Colonization: The mushroom mycelium (the root-like structure of fungi) will spread through the wood chips over several weeks or months, depending on the species and environmental conditions. You may not see any mushrooms right away, but check the bed regularly for signs of white mycelium spreading through the chips.
- Fruiting: Once fully colonized, mushrooms will start fruiting, typically within 3 to 6 months. Look for small mushroom pins (young mushrooms) pushing through the wood chips.
- Harvest: When the mushrooms are mature, usually after a few days to a week from pinning, you can harvest them by gently twisting and pulling the mushrooms from the base.
By following these steps, you’ll soon be enjoying fresh, homegrown mushrooms!
Note: If your mushroom bed starts to dry out, give it a good soaking with a garden hose. Moisture is the key to success! For indoor setups, using a spray bottle to keep the humidity levels high can prevent the spawn from drying out.
Written by Clara Carter
Hello, I am Clara Carter, A mushroom specialist with 12+ years of experience. I love exploring Mushrooms as learning has no end. I love to share my experiences through my articles on MushroomYard.