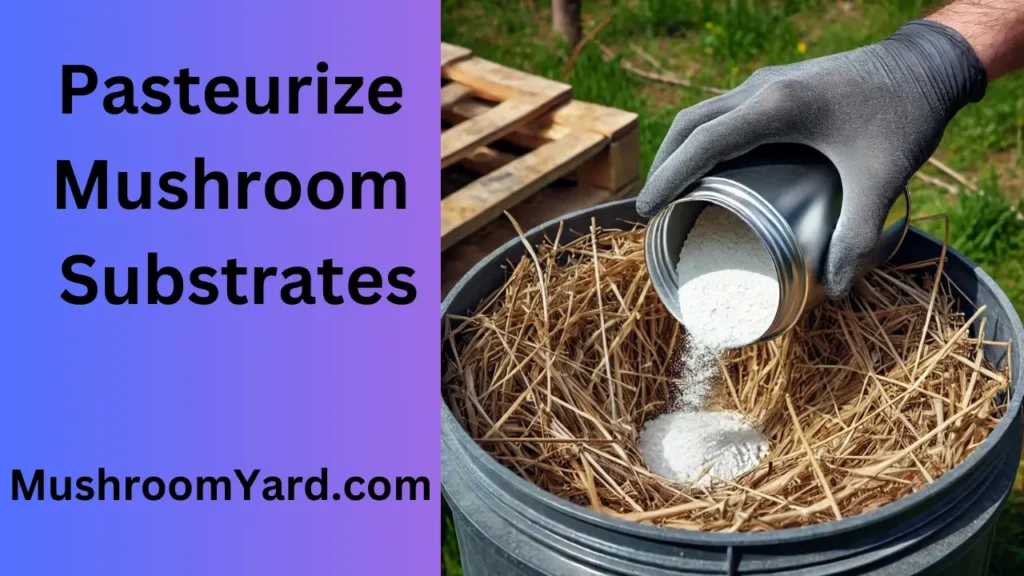
Growing mushrooms is as much about preparation as it is patience. The right start often leads to a fruitful finish.
Pasteurization is a step that gives mushrooms a better chance against contaminants without the need for full sterilization. Let’s look at how this can be done at home with simple tools.
Pasteurization is essential in mushroom cultivation because it strikes the right balance between eliminating harmful organisms and preserving beneficial microbes.
Why Pasteurization Works
1. Suppresses Harmful Contaminants
Mushroom substrates often contain organic materials like straw, wood chips, or coco coir, which are prime targets for bacteria, molds, and fungi. Pasteurization heats the substrate to a specific temperature range (usually between 160°F to 180°F), killing off most of these harmful organisms. ( You can check the list of Best Substrates for Growing Mushrooms at Home that I have created based on my experience )
- Key Insight: “Pasteurization doesn’t just eliminate threats; it tilts the odds in favor of your mushrooms by wiping out their competition.”
2. Preserves Beneficial Microbes
Unlike sterilization, which wipes out all microbial life, pasteurization is more selective. It targets harmful bacteria and fungi while leaving beneficial microbes in place. These helpful microorganisms create a healthy environment for mycelium to colonize the substrate without interference from unwanted species.
- Interesting Point: “Think of it as clearing the stage for the star performer—your mushrooms—while keeping the supporting cast intact.”
3. Prevents Future Contamination
By reducing the population of contaminants in the substrate, pasteurization creates a clean starting point. When you introduce mushroom mycelium into this controlled environment, it can spread quickly without facing much competition.
- Quick Note: “It’s not about complete elimination, but reducing the risk of contamination to a manageable level.”
Materials You’ll Need for Pasteurizing Mushroom Substrate
Each item plays a vital role in the pasteurization process goes smoothly. So before starting make sure you have all these materials handy.
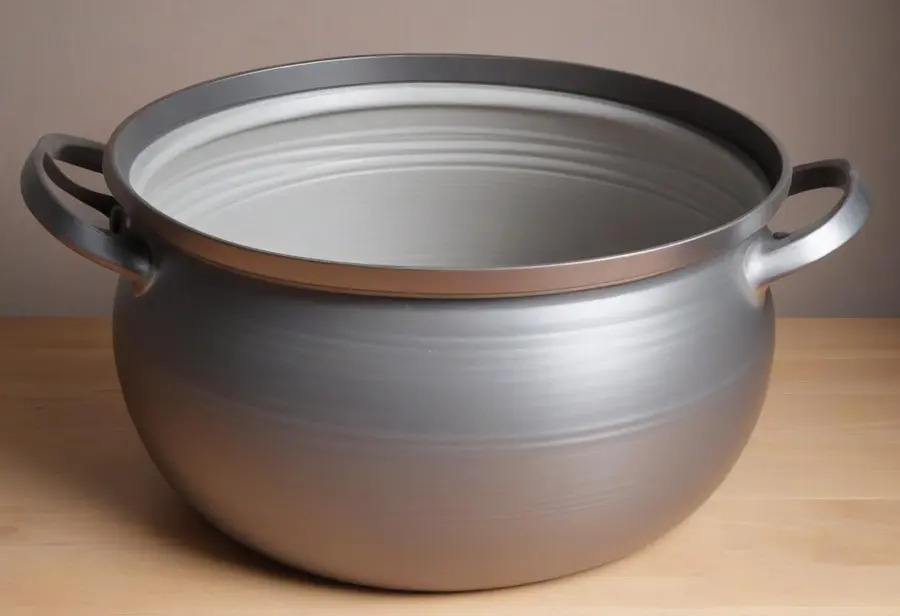
Large Pot or Container
This is where you’ll heat your water and submerge the substrate. It needs to be big enough to fully soak the material you’re working with.
- Why it’s Important: A pot or container with enough volume ensures that the substrate heats evenly, which is key for proper pasteurization.
- Tip: “Choose a pot that holds at least double the amount of your substrate to prevent spillage and allow for easy stirring.”
Thermometer (for Temperature Control)
A thermometer is essential for maintaining the correct temperature range (160°F to 180°F). Overheating can sterilize rather than pasteurize, while underheating may leave harmful organisms alive.
- Why it’s Important: Temperature control is the core of the pasteurization process. Without this, your results can be inconsistent, which may lead to contamination.
- Pro Tip: “A digital thermometer gives the most accurate readings and makes it easier to maintain a steady temperature.”
Water (Enough to Soak the Substrate)
Water is needed to fully submerge the substrate during pasteurization. It transfers heat to every part of the material, ensuring even pasteurization.
- Why it’s Important: The substrate needs to be evenly heated, and water is the most effective way to transfer heat. The moisture also prepares the substrate for mushroom growth.
- Tip: “Ensure the water is pre-heated before adding the substrate to avoid uneven pasteurization.”
Substrate (e.g., Straw, Coco Coir, Wood Chips)
The substrate is the material that mushrooms will grow in. Different substrates suit different types of mushrooms, with straw, coco coir, and wood chips being common choices.
- Why it’s Important: The substrate is your mushroom’s food source. Proper pasteurization allows mushrooms to colonize without competition from contaminants.
- Fun Fact: “Different mushrooms prefer different substrates—oysters love straw, while shiitakes thrive on wood chips.”
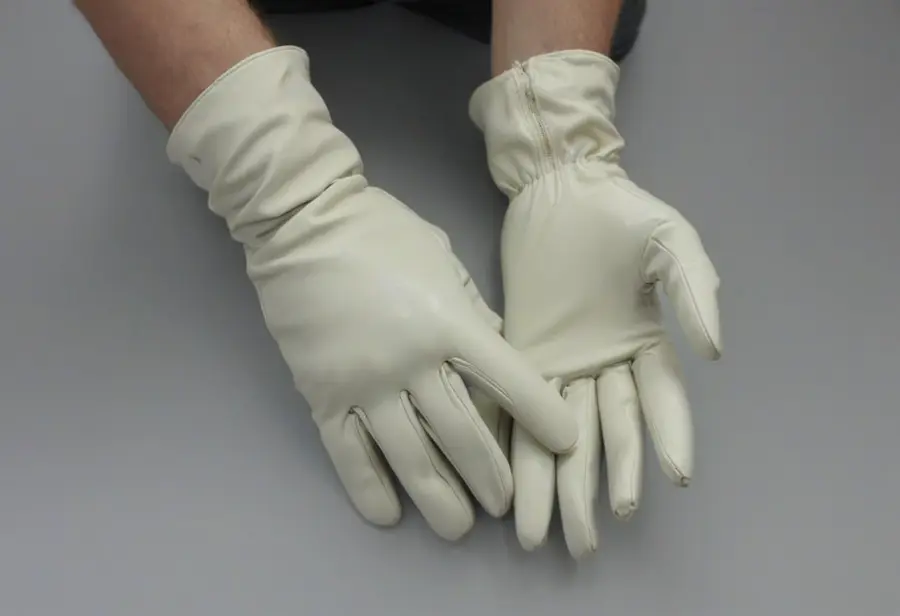
Gloves (for Safety)
Pasteurizing involves working with hot water and potentially sharp or rough materials (like straw or wood chips). Wearing gloves protects your hands during the process.
- Why it’s Important: Safety comes first. Gloves prevent burns when handling hot materials and protect your skin from cuts or abrasions from rough substrates.
- Tip: “Use heat-resistant gloves to easily handle the substrate after it’s been soaked.”
Once we have all these materials, we can start Pasteurizing Mushroom Substrate
Step-by-Step Process for Pasteurization
Each step in pasteurization plays an important role in creating the ideal growing environment for your mushrooms. I have explained in detail so that you can understand how to do that.
Preparing the Substrate
Healthy mushrooms begin with prepared ground. Think of your substrate like the soil—it needs to be ready for life.
Breaking down the substrate into smaller pieces is important because it increases the surface area, allowing for more even pasteurization and better absorption of moisture. When the substrate is uniform in size, it helps ensure consistent heating, which is essential for killing harmful organisms while preserving beneficial ones. This uniformity also allows mushroom mycelium to colonize the substrate more efficiently, providing a balanced and ideal environment for growth.
To do this, whether using straw, wood chips, or coco coir, break the substrate into manageable sizes. By doing so, you help ensure that every part of the material is pasteurized evenly, preparing it to fully support mushroom development.
Heating the Water
Temperature is everything—too hot, and you destroy more than you protect
It is important to heat the water to between 160°F (71°C) and 180°F (82°C) as it kills harmful microbes without completely sterilizing the substrate. Full sterilization would remove not just the bad stuff but also the good organisms that help mushrooms grow. Keeping the water in this temperature range keeps that balance, making it safer for the mushrooms to thrive.
To do this, use a thermometer to keep an eye on the water’s temperature. This will help you make sure it stays in the right range without getting too hot. A digital thermometer works best for accurate readings.
An interesting tip: You can use the same water for multiple batches of substrate. As long as the temperature stays steady, you’ll save energy and time by not needing to reheat.
Submerging the Substrate
“Think of this step like giving your substrate a spa day—just the right heat for just the right time.”
- Why It’s Important: Fully submerging the substrate ensures even pasteurization. If any part of the substrate remains out of the water, it may not be properly pasteurized, leaving pockets of contamination risk.
- How to Do It: Submerge the substrate in the hot water for 60–90 minutes. Stir occasionally to ensure that all parts of the substrate are heated evenly. This promotes consistency across the entire batch.
Draining and Cooling
“The key to good substrate is moisture—not too much, not too little, but just enough.”
- Why It’s Important: After soaking, it’s important to drain the substrate properly to avoid oversaturation, which can lead to contamination later. The substrate should feel damp, like a wrung-out sponge, but not dripping wet.
- How to Do It: Once you’ve finished pasteurizing, drain the water and spread out the substrate to cool. Make sure it cools completely before adding mushroom spawn, as hot substrate can harm or kill the mycelium.
How long is pasteurized substrate good for?
Pasteurized substrate is typically good for a few days to a week if kept in the right conditions. Here’s how you can ensure it stays viable:
- Cool and Dry: Once pasteurized, the substrate should be allowed to cool completely and then stored in a cool, dry place. This helps prevent contamination and spoilage.
- Airtight Storage: Keep the substrate in airtight containers or bags to maintain its freshness and reduce the risk of contamination.
- Check for Signs: Before use, check for any signs of contamination such as off smells or mold. If you notice anything unusual, it’s best not to use it.
In general, using pasteurized substrate as soon as possible is ideal, but with proper storage, it can remain good for up to a week.
Other Alternative Mushroom Pasteurization Methods:
Till now, I have explained how you can pasteurize Mushroom substrates using the hot water bath pasteurization method. But there are other popular methods to do so.
- Cold Pasteurization (Lime Bath)
- How it Works: Soak the substrate in water treated with hydrated lime for 12–24 hours. The high pH creates an environment hostile to contaminants.
- Why it Works: Raising the pH prevents harmful organisms from taking hold, while the lime doesn’t negatively affect mushroom growth.
- Bonus Tip: “This method is great for those looking to avoid heat—perfect if you don’t want your kitchen to feel like a sauna.”
- Steam Pasteurization
- How it Works: Use a steamer to heat the substrate for 1–2 hours, keeping the temperature around 160°F–170°F.
- Why it Works: Steam provides even heating without directly submerging the substrate in water, which can sometimes lead to oversaturation.
- Fun Fact: “Steaming is often used by large-scale mushroom growers who need consistent results.”
- Oven Pasteurization
- How it Works: Place the substrate on a baking tray and heat it in the oven at 170°F (77°C) for about 1 hour.
- Why it Works: This method is clean, easy, and ideal for home growers who might not have large equipment.
- Pro Tip: “Place foil over the tray to trap heat and keep the moisture in for a more even pasteurization.”
- Microwave Pasteurization
- How it Works: Place small batches of substrate in a microwave-safe bag or container, add a bit of water, and heat on high for 5–10 minutes.
- Why it Works: Quick and effective for small amounts, but be careful of drying out the substrate.
- Caution: “Microwave pasteurization can be a little tricky—don’t overdo it, or you might end up with dried-out substrate.”
Written by Clara Carter
Hello, I am Clara Carter, A mushroom specialist with 12+ years of experience. I love exploring Mushrooms as learning has no end. I love to share my experiences through my articles on MushroomYard.