For home mushroom cultivators, preparing the substrate is a critical step, one that can make or break your mushroom-growing efforts. While traditional methods like steam pasteurization or hot water baths have been the go-to for decades, they can be time-consuming and equipment-heavy. Microwave pasteurization, on the other hand, offers a faster and simpler alternative without sacrificing results.
Imagine being able to sanitize your substrate in just minutes with the equipment you already have in your kitchen. This method cuts down the hassle without compromising the quality needed for a successful mushroom crop. In this guide, we’ll take a close look at how microwave pasteurization works, why it’s effective, and how to do it right—making sure your mycelium colonizes the substrate without competition from unwanted microbes.
Why Pasteurize Mushroom Substrates?
Before we jump into microwave pasteurization, it’s important to understand why this process matters. Mushroom substrates, whether made from straw, wood chips, or other materials, can harbor unwanted organisms that compete with your mushroom mycelium. Pasteurization selectively reduces these competitors, allowing the mycelium to spread without interference.
You can check in detail from How to Pasteurize Mushroom Substrates at Home
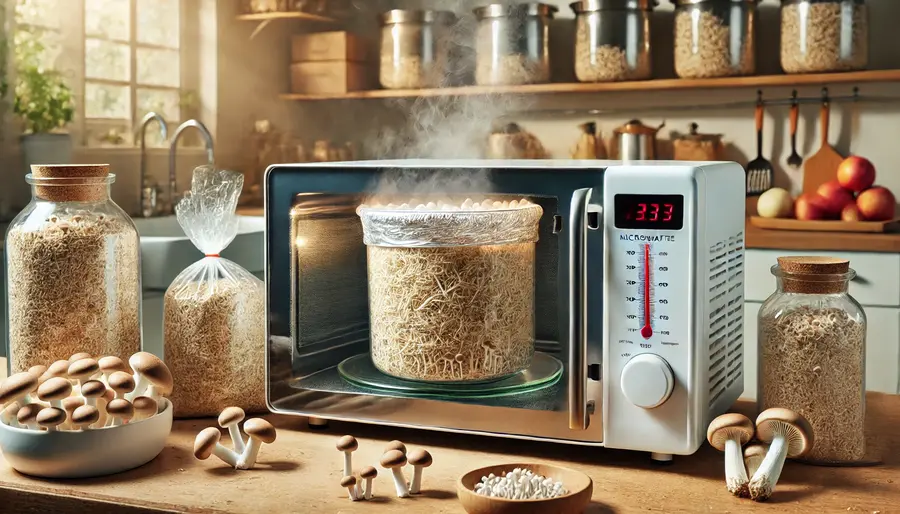
How Does Microwave Pasteurization Work?
Microwave pasteurization leverages the ability of microwaves to heat the substrate rapidly. Instead of boiling or steaming, the microwaves vibrate water molecules within the substrate, creating the heat necessary to kill off unwanted microorganisms. This method offers several advantages:
- Speed: Traditional methods can take hours, while microwaving takes only minutes.
- Convenience: No need for large equipment or complex setups—just a microwave and your substrate.
- Consistency: With a proper approach, you can achieve reliable results every time.
Step-by-Step: How to Pasteurize Mushroom Substrates Using a Microwave
Microwave pasteurization is a simple but precise process. Each step must be followed carefully to make sure that the substrate is adequately pasteurized without over-drying or burning. Let’s break down each part of the process in detail:
1. Select and Prepare the Substrate
The first step is choosing the right substrate, which can include straw, wood chips, sawdust, or a mix of organic materials. The substrate acts as a food source for the mycelium, so it’s vital to ensure it’s free of contaminants.
- Hydration: Begin by soaking your substrate in water. This can be done by submerging it in a bucket or basin for several hours or overnight, depending on the material. Ensure that the substrate absorbs enough moisture—this is crucial for effective pasteurization. For straw, a 2-3 hour soak is typically sufficient, while denser materials like sawdust might need longer.
- Check for Moisture Content: After soaking, the substrate should be fully hydrated but not dripping wet. A good way to test is the “squeeze test”: grab a handful of substrate and squeeze tightly. Only a few drops of water should escape. If it’s too wet, drain off excess water by spreading the substrate out or squeezing out more water.
2. Load the Substrate into a Microwave-Safe Container
Choose a microwave-safe container that’s large enough to hold your substrate but small enough to allow even heating. Avoid overpacking the container, as this can cause uneven heating, leading to parts of the substrate being under-pasteurized.
- Size and Depth: The substrate layer should be no more than 2-3 inches deep. This depth ensures that the microwave can penetrate and heat the substrate evenly.
- Container Type: Glass or ceramic containers with loosely fitting lids work best. Avoid metal, which can’t be used in microwaves, and be cautious with plastic containers as they may warp at high temperatures.
3. Cover the Container Properly
Proper coverage is essential to maintain moisture levels and allow steam to escape without over-pressurizing the container.
- Loose Lid or Plastic Wrap: If your container has a lid, place it loosely over the container so steam can vent out. Alternatively, you can use microwave-safe plastic wrap with small holes poked in it. This setup prevents the substrate from drying out while still allowing the excess moisture to escape.
4. Set Microwave Power and Timing
Microwave pasteurization is all about achieving the right temperature, typically between 160°F and 180°F (70°C to 80°C). Here’s how to get there:
- Full Power for Short Bursts: Set your microwave to full power (usually around 1000 watts). Start with 2-3 minutes per pound of substrate. For example, if you’re working with 2 pounds of straw, microwave for 4-6 minutes in total. It’s better to microwave in shorter bursts to avoid overheating.
- Monitor Progress: Microwaves can heat unevenly, so stop the microwave halfway through and stir the substrate. This ensures consistent heat distribution. If you’re pasteurizing denser materials like sawdust or wood chips, you may need slightly longer times, but always stir midway.
5. Check the Internal Temperature
Temperature control is key to successful pasteurization. Your goal is to heat the substrate to a temperature between 160°F and 180°F (70°C to 80°C) and maintain it for several minutes. Here’s how to ensure you’re in the right range:
- Use a Food Thermometer: After the initial microwave cycle, insert a food-grade thermometer into the substrate. If the temperature falls below 160°F, return the container to the microwave and heat in 30-second intervals until the right temperature is reached.
- Target Temperature: Hitting the sweet spot is critical. Too low, and the substrate won’t be fully pasteurized, allowing unwanted organisms to thrive. Too high, and you risk cooking the substrate, making it unusable for mushrooms. The substrate should be uniformly heated, so check several spots in the container.
6. Let the Substrate Rest and Cool
Once the target temperature is reached, it’s essential to allow the substrate to cool gradually.
- Sealed Cooling: Leave the substrate in the container and cover it tightly after microwaving. Let it sit for 15-20 minutes to ensure that the pasteurization effect takes hold throughout the substrate. The residual heat will continue to kill off any lingering contaminants.
- Cool Down to Room Temperature: After resting, uncover the container and let the substrate cool down naturally to room temperature. Never inoculate with mushroom spawn until the substrate has fully cooled, as high temperatures can kill the mycelium.
7. Ready for Use
After cooling, the substrate is now pasteurized and ready for inoculation. Transfer the substrate to your grow bag or container where you plan to introduce the mushroom spawn.
Important Tips for Success
- Batch Sizes: Microwave pasteurization is ideal for small to medium batches of substrate. If you’re working with large quantities, consider breaking the substrate into smaller portions to ensure even heating.
- Avoid Over-Microwaving: Microwaving the substrate for too long or at too high a power setting can cause it to dry out or scorch. Always stick to short intervals and monitor closely.
- Substrate Type: Different substrates may require slight adjustments to timing and power settings. Wood chips and sawdust, for instance, retain more moisture and may require longer microwave times compared to straw.
Conclusion
Mastering microwave pasteurization for mushroom substrates is a game-changer for home growers, allowing for efficient, small-scale substrate preparation without the need for large, specialized equipment. By following this method carefully, you can achieve consistent, contamination-free substrates, providing your mushrooms with the best possible start.
Written by Clara Carter
Hello, I am Clara Carter, A mushroom specialist with 12+ years of experience. I love exploring Mushrooms as learning has no end. I love to share my experiences through my articles on MushroomYard.